 Save
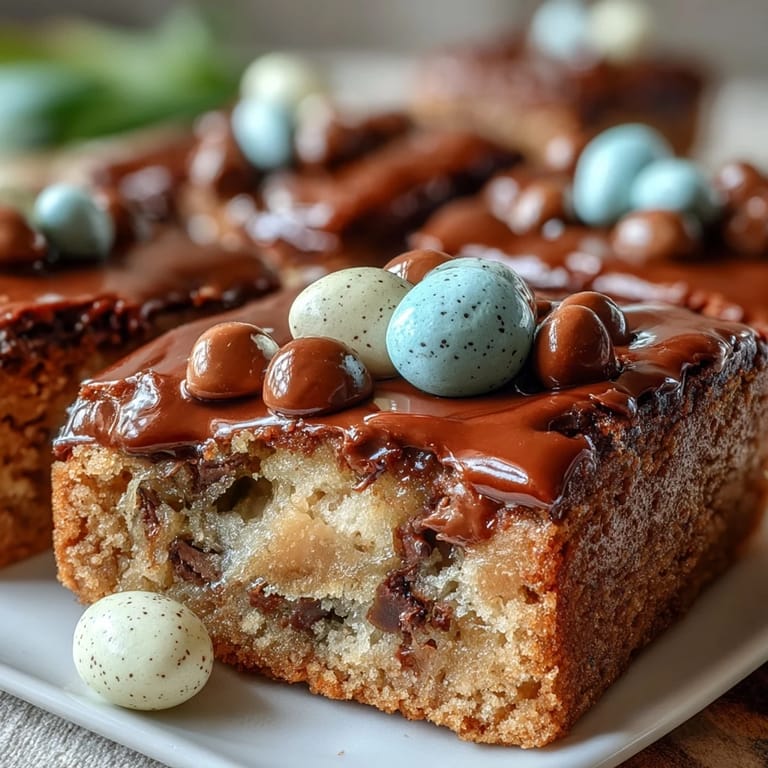
Save The first time I mixed up these Peanut Butter Easter Egg Cookie Bars, a gentle rain was tapping on the kitchen window and I was surrounded by bowls of pastel candies that threatened to roll off the counter. The scent of peanut butter rising from the mixing bowl felt instantly comforting, but it was the sound of the candies clinking against the glass that really signaled something fun was in the works. I remember giggling as I pressed the candy eggs on top, not worrying about symmetry—even the mess felt festive. With spring breezes drifting in, it was the kind of baking that doesn’t need perfection, just a little good mood and anticipation for sharing. That’s how these bars became the go-to treat for any occasion that begged for playfulness and bright colors.
One Easter, I ended up making these bars for my niece and nephew after our planned cupcakes were a wash—literally, thanks to spilled batter and eager helping hands. The cookie bars saved the day, with everyone crowding around as I sliced through the golden top, candies popping free and scattering across the cutting board. I swear those bright dots drew smiles faster than any fancy baked treat. They disappeared in minutes but left behind sticky fingers and a tableful of laughter. Now, even out of season, it's not unusual for someone to request these, especially when the mood calls for something fun and unexpected.
Ingredients
- Unsalted butter: Melting it and letting it cool slightly prevents greasy bars and helps them bake up tender.
- Creamy peanut butter: The smoother the peanut butter, the chewier the bars—it’s worth stirring before measuring for accuracy.
- Light brown sugar: This adds caramel notes and contributes to the soft, moist crumb.
- Granulated sugar: Balances the depth of brown sugar, keeping the bars just sweet enough.
- Eggs: Room temperature eggs blend seamlessly, creating an even texture without streaks.
- Vanilla extract: Just a splash rounds out the peanut butter flavor and brings everything together.
- All-purpose flour: Sift or whisk it first for lump-free mixing and even bake.
- Baking powder: Gives a gentle lift without making the bars cake-like.
- Baking soda: Works with the brown sugar to help the bars stay soft for days.
- Salt: Don’t skip it—it’s the magic touch that keeps the sweetness in check.
- Easter egg chocolate candies: Choose your favorite brand; pressing a few extras on top makes them photogenic, too.
- Semi-sweet chocolate chips (optional): Adds a deeper chocolate layer for those who want a little more richness.
Tired of Takeout? 🥡
Get 10 meals you can make faster than delivery arrives. Seriously.
One email. No spam. Unsubscribe anytime.
Instructions
- Get the pan ready:
- Line your 9x9-inch baking pan with parchment paper and let it hang over the sides—a trick for easy removal later.
- Mix the wet stuff:
- In a big bowl, whisk the melted butter, peanut butter, brown sugar, and granulated sugar until silky smooth and a little glossy.
- Add eggs and vanilla:
- Crack in the eggs and pour in vanilla, mixing until the batter feels thick and creamy.
- Prepare the dry mix:
- In another bowl, whisk flour, baking powder, baking soda, and salt, making sure there are no powdery clumps.
- Combine and fold:
- Gradually fold the dry ingredients into the wet mixture, using a spatula and stopping as soon as the flour disappears.
- Stir in the candy magic:
- Gently fold in the Easter egg candies and chocolate chips (if you’re going extra chocolate), watching colors swirl into the dough.
- Spread and decorate:
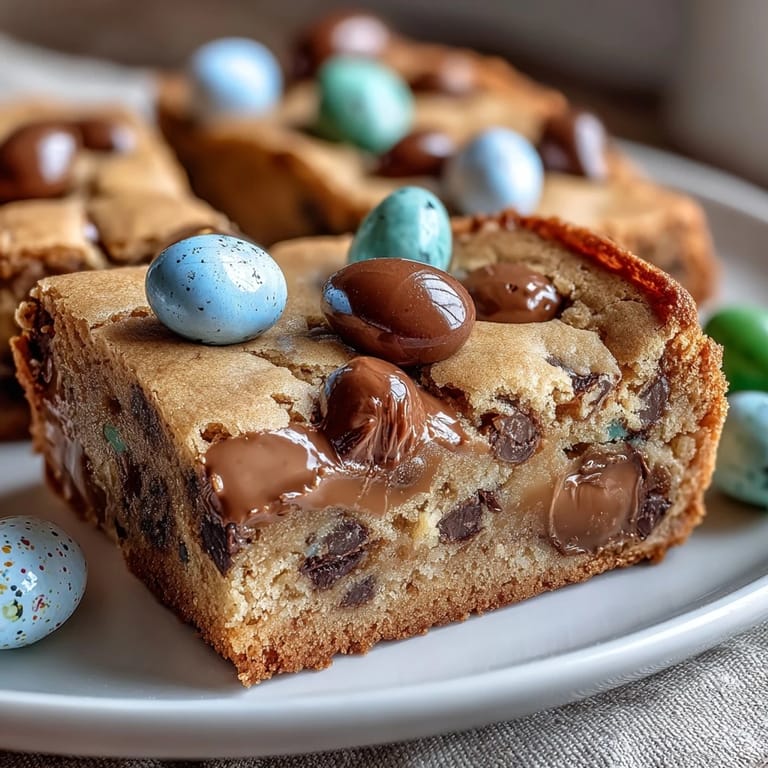
- Scrape the batter into your pan and press extra egg candies across the top—it shouldn’t be perfect, just fun.
- Bake to golden:
- Bake for 22-25 minutes until the edges are golden and the center is set yet soft; your kitchen will smell like celebration.
- Cool and slice:
- Let the bars cool completely in the pan, then lift them out using the parchment overhang before cutting into squares and serving.
 Save
Save One rainy afternoon, I watched as a friend almost ate the bars straight out of the pan—she said the aroma was irresistible and reminded her of childhood peanut butter sandwiches. Suddenly, the cookie bars became less about dessert and more about memories conjured from the simplest flavor combinations. That moment made me realize these treats carry comfort beyond their cheerful look. It prompted us to share stories over coffee, with crumbs scattering between laughs. Sometimes, the best recipes are those that encourage connection without fuss.
Spring Candy Swaps For Every Occasion
After Easter, I started using leftover pastel candies for graduation gatherings and baby showers. Turns out, swapping the egg candies for seasonal chocolate or rainbow-coated varieties keeps the recipe lively year-round. You can get creative with whatever you find in the store’s candy aisle or even toss in chopped nuts if you’re feeling bold. The bars hold up beautifully to improvisation, never losing their chewy charm. If you want extra crunch, scatter some toasted coconut over the top before baking.
Make-Ahead And Storing Secrets
These cookie bars are surprisingly forgiving if you need to bake ahead. Wrap them up tightly and they’ll stay soft for several days, making them ideal for gifting or prepping for brunch. When chilled, the flavors intensify and the candies retain a crisp shell. I learned to stack them in layers with parchment for easy serving. Just avoid the temptation to refrigerate uncovered, or they’ll dry out faster than you expect.
Troubleshooting Your Bake
I've messed up by overmixing the dough, which led to tough bars, so now I stop as soon as no flour is visible. Sometimes the center seems underdone fresh from the oven, but a full cool-down always resolves that gooeyness. If candies sink, I press extras on top mid-bake for a festive finish.
- Let the bars cool fully before slicing for clean, pretty squares.
- If you want gooey centers, bake at the shorter end of the time range.
- Always use room temperature eggs—cold eggs cause streaks in the batter.
 Save
Save I hope these cheerful cookie bars bring as much laughter and color to your table as they have to mine. Next time you crave something sweet and uncomplicated, give them a whirl and let them become the highlight of your day.
Common Recipe Questions
- → Can I use regular chocolate candies instead of Easter eggs?
Yes, substitute Easter egg candies with regular chocolate candies for year-round enjoyment and variety.
- → How can I enhance the peanut butter flavor?
Drizzle melted peanut butter over cooled bars or use crunchy peanut butter for extra texture and taste.
- → What is the best way to store these bars?
Keep the bars in an airtight container at room temperature for up to four days to maintain freshness.
- → Are there any allergen concerns?
These bars contain peanuts, eggs, dairy, gluten, and may contain soy depending on the candies used. Always check labels.
- → Can the bars be frozen?
Yes, wrap bars tightly and freeze for up to two months. Thaw at room temperature before serving for best texture.
- → Can I add other mix-ins?
Feel free to add nuts, dried fruit, or different types of chocolate chips for more flavor and texture.