 Save
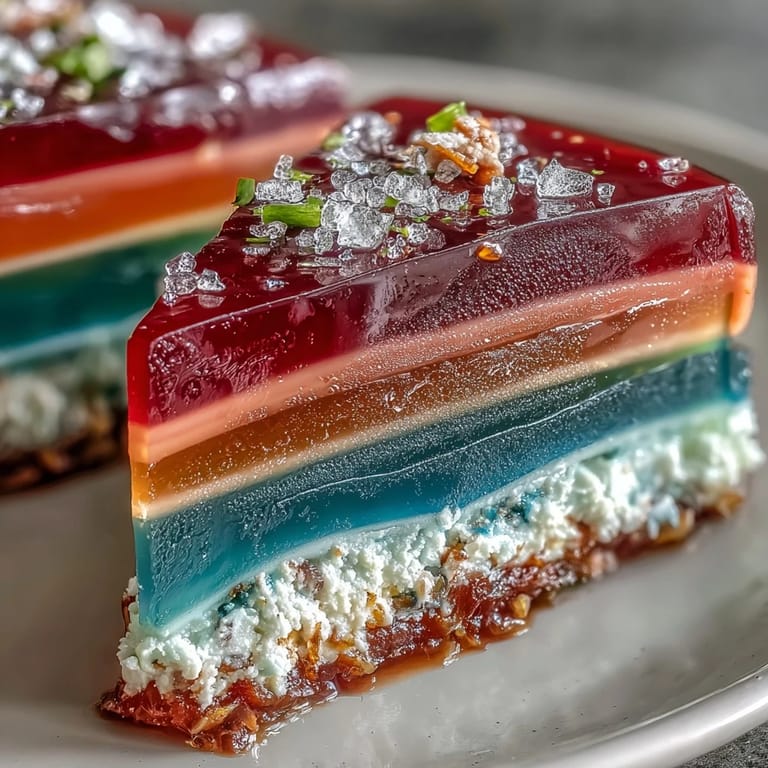
Save An unexpected craving for something cheerful led me to create this Rainbow Jelly Cake one humid afternoon, the curtains casting colored stripes across my kitchen. I remember the gentle fizz of agar-agar simmering and the way the scent of sweet coconut floated through the room. Every layer turned into a conversation with myself about color, patience, and a little bit of play. As the cake chilled, it became a centerpiece as much for its vibrant look as its bouncy, creamy promise. Making it felt oddly meditative—even if I did end up with food coloring on nearly every fingertip.
This jelly cake first made an appearance at my friend’s summer potluck, where every guest paused in front of it, wide-eyed with smiles. I remember the moment someone asked, “Did you really make that?”, and the bashful pride that bubbled up as rainbow slices disappeared faster than I’d ever seen a dessert vanish.
Ingredients
- Agar-agar powder: This plant-based gelling agent is the secret to those satisfyingly firm layers—dissolve it thoroughly or the texture will be uneven.
- Water: Acts as the canvas for both jelly and coconut layers; use filtered water if possible for a clean finish.
- Granulated sugar: Balances the earthiness of agar and brings each hue to life—taste as you go for your preferred sweetness.
- Food colorings (red, orange, yellow, green, blue, purple): The magic behind the rainbow—just a drop or two goes far, and swirling gently creates even, jewel-bright colors.
- Vanilla extract (optional): Adds gentle warmth; I sometimes skip it to let the coconut and colors take the lead.
- Coconut cream: Makes the final layer rich and creamy—whisk well to prevent lumps for perfect smoothness.
- Salt: One pinch is all you need to lift the sweetness and round out the flavors—don’t forget it!
Tired of Takeout? 🥡
Get 10 meals you can make faster than delivery arrives. Seriously.
One email. No spam. Unsubscribe anytime.
Instructions
- Make the Jelly Base:
- Pour agar-agar powder into your saucepan and mix with water, then bring to a lively simmer while stirring, listening for the gentle sizzle and watching the powder dissolve.
- Sugar and Scent:
- Once the agar-agar melts completely, stir in granulated sugar and vanilla, savoring how the liquid turns glossy and aromatic.
- Colorful Divide:
- Take the pan off the heat, dividing the glowing liquid into six bowls; add a drop of color to each and swirl until they’re vivid and bright.
- Layer and Wait:
- Pour your red layer gently into the mold—the surface will quiver slightly—then set a timer and let it almost firm up before you add orange, then yellow, green, blue, and finally purple.
- Make Coconut Cream Layer:
- In a fresh saucepan, whisk together coconut cream, water, and agar-agar powder; watch as steam puffs up, then stir in sugar and salt, keeping the heat low for a smooth mix.
- Top it Off:
- When your last color layer feels springy but not hard, pour the warm coconut layer over all, filling in every color contour.
- Chill:
- Pop the mold into the fridge—the hardest part is waiting for it to set completely, which takes about an hour.
- Unmold and Serve:
- With a small offset spatula, loosen the cake's edge and invert it with a deep breath; slice into jewel-like pieces to serve cold on a hot day.
 Save
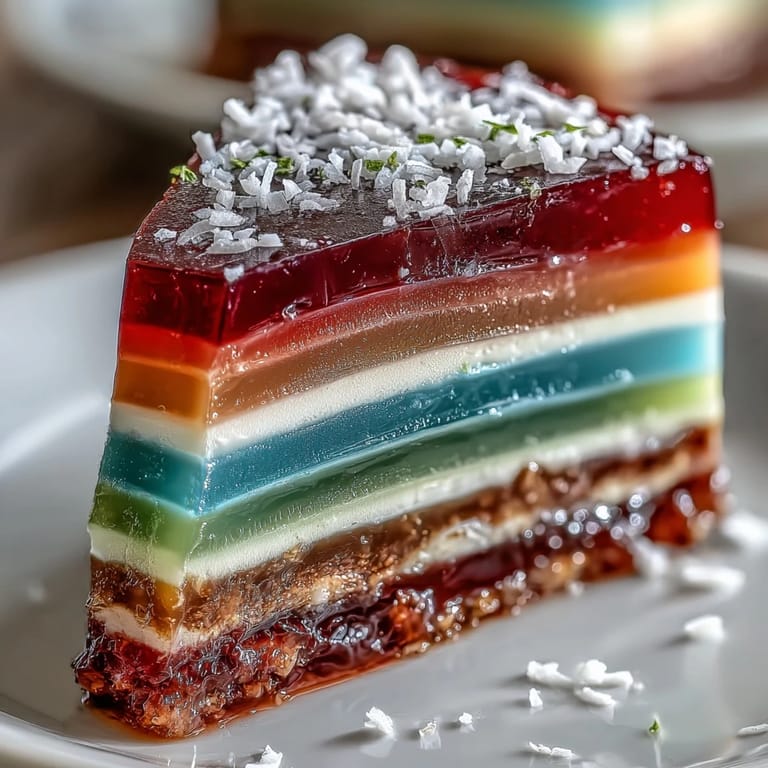
Save Once, while slicing into the finished jelly cake, a neighbor’s child wandered into my kitchen, transfixed by the swirling rainbow. Their absolute delight, eyes wide with giddy anticipation, made every extra minute spent perfecting my layers feel entirely worth it.
Getting Your Layers Just Right
Patience is your best sous chef here—the difference between sharp, defined colors and a blurred rainbow is often just three minutes between pours. Keep an eye on the surface: it should be set enough to hold the next layer, but still a touch tacky for that seamless finish.
Choosing the Perfect Mold
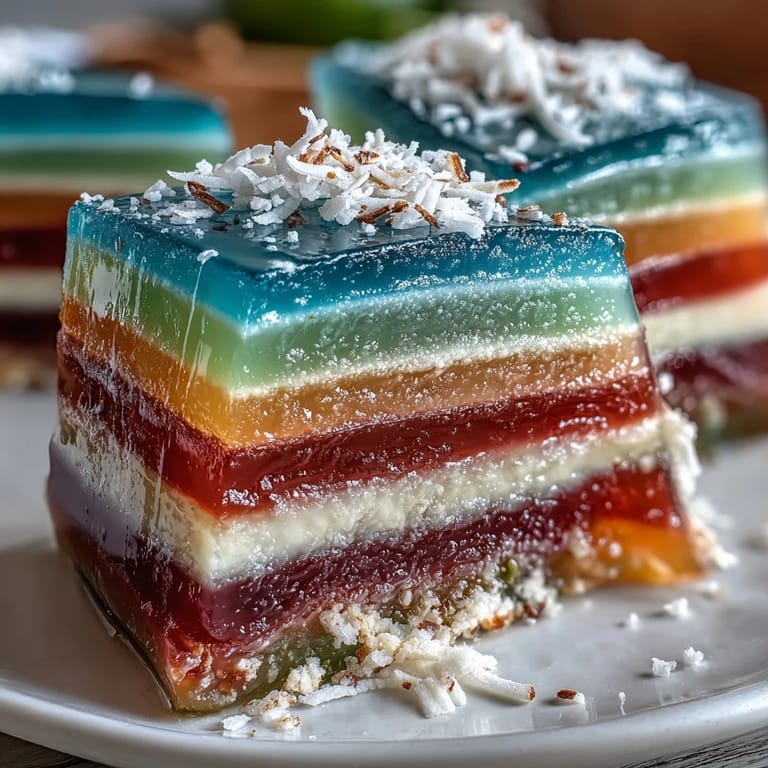
I usually reach for a round mold for a softer, cloud-like look, but rectangular pans make slicing easier and show off those striated layers beautifully. If you want to unmold without stress, a quick dip of the base in warm water loosens the cake in seconds.
Troubleshooting Rainbow Mishaps
Mistakes happen—once, I forgot to dissolve the sweetener fully and found crunchy crystals in one slice, so now I double-check each mixture before layering. Slight surface bubbles? Skim them with a spoon for a glassy top. Even if one layer goes wonky, the whole cake still tastes like a celebration.
- Rest your agar-agar between layers so it doesn’t harden before pouring.
- If coconut cream forms lumps, a quick whisk over low heat smooths it out.
- Never skip chilling time for the neatest, cleanest slices.
 Save
Save No matter how many times I make this, watching each rainbow slice catch the light makes me smile. I hope your kitchen is filled with as much color and laughter as mine was the day I first pulled this from the fridge.
Common Recipe Questions
- → How long should each colored layer set before pouring the next?
Let each layer cool 5–8 minutes until it is just set but still slightly warm to the touch. This ensures the next layer adheres without melting the lower layer; if a layer firms too much, warm the mold slightly or pour more slowly.
- → Can I use natural food colorings for the jelly?
Yes. Concentrated plant extracts and powders (like beet, turmeric, butterfly pea, spinach or carrot reductions) work well. Natural colors may be less intense, so use stronger infusions or reduce water slightly to deepen hue.
- → How do I avoid color bleeding between layers?
Allow each layer to reach a soft set before adding the next. Pour the next color gently over the back of a spoon or along the mold wall to reduce impact. Avoid pouring hot gel directly onto a chilled surface, and keep pouring temperature moderate.
- → What can I use instead of coconut cream?
Use full-fat coconut milk for a lighter top layer (reduce added water), or a neutral plant cream if you want less coconut flavor. For a richer finish, use thicker canned coconut cream. Avoid dairy if you want to keep it non-dairy.
- → How should I slice the set cake for clean pieces?
Chill the cake until completely firm, then use a sharp knife warmed in hot water and wiped dry between cuts. Clean the blade after each slice for neat edges and consistent portions.
- → How long will the finished cake keep?
Stored covered in the refrigerator, the cake keeps well for up to 3 days. Avoid freezing, as freezing can change the texture of agar-agar and cause weeping when thawed.