 Save
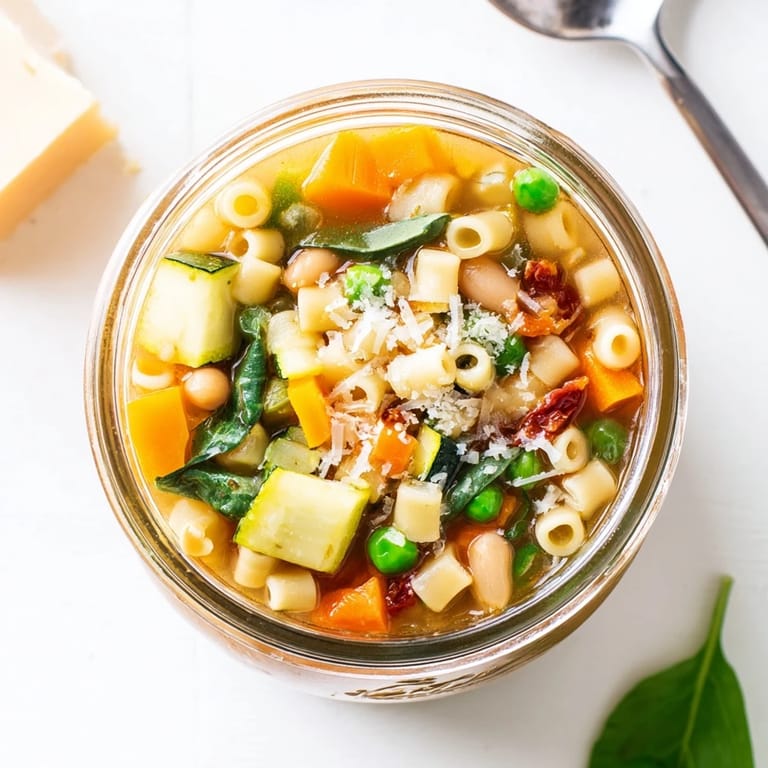
Save Last winter, I stumbled upon the idea of making minestrone soup in a jar while frantically meal prepping during a particularly busy work week. The colorful layers of pasta, beans, and vibrant vegetables stacked like edible art in my mason jars, transforming mundane lunch prep into something almost magical. I was skeptical at first – could something so convenient actually taste homemade? The first spoonful of that steaming, herb-scented soup in my office lunchroom convinced me I'd found a genuine meal prep treasure.
I once packed four of these jars for a weekend cabin trip with friends, and their faces lit up when I pulled them out after our long hike. We huddled around the small cabin kitchen, steam fogging up the windows as we poured boiling water into our individual jars. There was something wonderfully communal about customizing our soups together – Sarah adding extra chili flakes, Marc sprinkling in absurd amounts of Parmesan – all of us holding warm jars between cold hands as we swapped stories from the trail.
Ingredients
- Small Pasta: The foundation of our soup jars, I prefer ditalini or mini shells because they cook quickly with just hot water and maintain their texture without becoming mushy.
- Red Lentils: These little protein powerhouses cook surprisingly fast, melting slightly to give the broth a natural creaminess that ties everything together.
- Diced Vegetables: The colorful heart of our minestrone – I learned that cutting vegetables into uniformly small pieces ensures they soften properly with just hot water.
- Sun-dried Tomatoes: My secret flavor bomb that infuses the broth with intense umami depth far beyond what fresh tomatoes could provide.
- Bouillon Cube: After experimenting with various broth options, crumbled bouillon cubes distribute flavor more evenly throughout the jar than powder or paste.
Tired of Takeout? 🥡
Get 10 meals you can make faster than delivery arrives. Seriously.
One email. No spam. Unsubscribe anytime.
Instructions
- Create Your Layers:
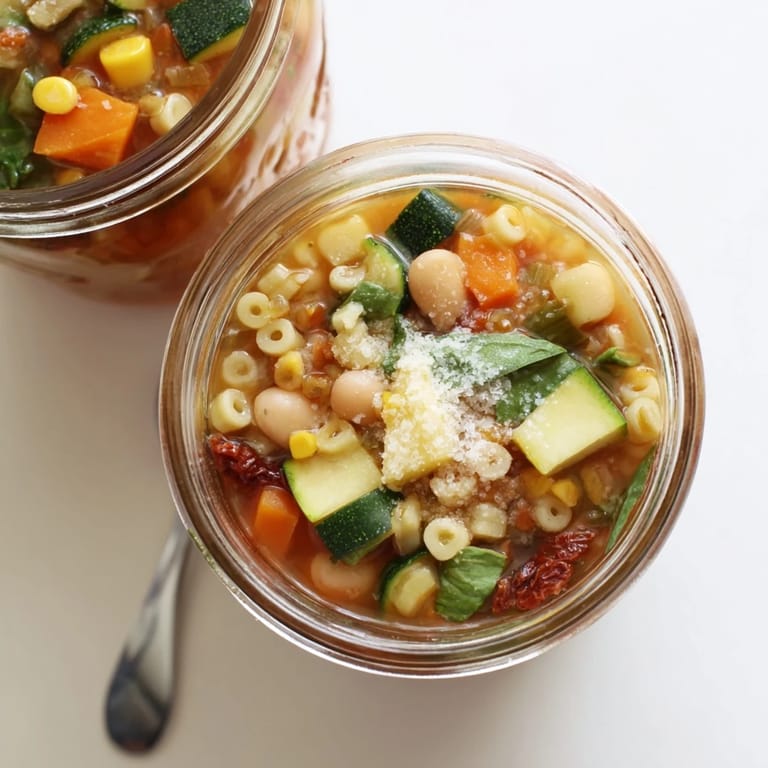
- Start by adding pasta as your foundation, then build up with lentils, beans, and vegetables in the order listed. Watch as each jar transforms into a miniature edible terrarium, with distinct layers of color and texture.
- Seal and Store:
- Tighten those lids with a confident twist and place your jars in the refrigerator for up to four days. The ingredients stay remarkably fresh, almost suspended in time until you're ready to bring them to life.
- Add Hot Water:
- When hunger calls, simply pour two cups of boiling water into your jar, watching as the liquid seeps through the layers. Give it a gentle stir to help those flavors mingle and dance together.
- Wait for Magic:
- Those 10-15 minutes of waiting might test your patience, but they're crucial for proper cooking. I often use this time to brew tea or catch up on messages – the anticipation actually makes the meal more satisfying.
- Customize and Enjoy:
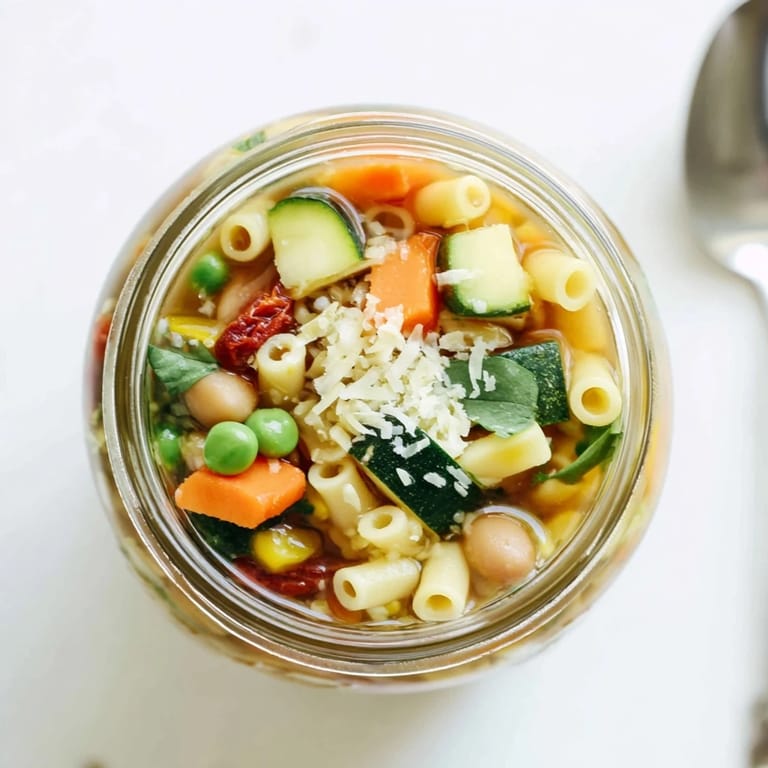
- Give your soup a final stir, watching as the colors swirl together into a beautiful medley. Add a shower of Parmesan if you wish, then savor each spoonful of your portable homemade feast.
 Save
Save My colleague Maria, who always claimed she couldn't cook, texted me a photo one evening of four perfectly assembled minestrone jars lined up on her kitchen counter. Something about the simple layer-by-layer instructions had finally given her the confidence to try meal prepping. She wrote, Our office lunches will never be the same! Those words warmed me more than the soup itself – there's something profoundly satisfying about sharing a recipe that makes someone feel capable in the kitchen.
Customization Ideas
The beauty of these soup jars lies in their flexibility. During summer months, I swap zucchini for butternut squash and add fresh corn kernels. When battling winter colds, I increase the garlic powder and add a pinch of turmeric for its anti-inflammatory properties. My vegetarian sister-in-law adds nutritional yeast instead of Parmesan, claiming it adds a cheesy flavor while boosting B vitamins. These jars become a canvas for whatever flavors or nutritional needs you're craving.
Storage Strategies
Through much trial and error, I've discovered that keeping the tomato paste and bouillon at the very top prevents them from clumping around the dry ingredients. When using oil-packed sun-dried tomatoes, I give them a quick pat with paper towels to remove excess oil that might make other ingredients soggy. For maximum freshness, I sometimes prepare just the dry ingredient jars (pasta, lentils, seasonings) in advance, then add the fresh and frozen vegetables the night before. The jars stack beautifully in the refrigerator, transforming previously chaotic shelves into an organized display of ready meals.
Serving Suggestions
These humble jars can be elevated to dinner-worthy status with thoughtful accompaniments. On especially cold evenings, I serve mine with crusty bread rubbed with garlic and olive oil for dipping. For lunch meetings, I sometimes transfer the prepared soup to a thermos and bring a small container of fresh herbs or a lemon wedge to brighten the flavors just before eating. During a particularly hectic week, my neighbor taught me to keep a container of mixed toppings – toasted pine nuts, fresh herbs, and lemon zest – in my desk drawer to instantly upgrade my soup.
- For a protein boost, add a soft-boiled egg or a sprinkle of hemp seeds just before serving.
- Keep some extra dried herbs in a tiny container with your jar for a flavor refresh if the soup has been stored for several days.
- A drizzle of good olive oil creates little golden pools on the surface that add richness and visual appeal to your completed soup.
 Save
Save These colorful jars of possibility have transformed my relationship with lunch prep from a dreaded Sunday chore to a moment of creative meditation. Each jar represents not just a future meal, but a gift to my future self – a moment of nourishment and comfort waiting patiently on even the busiest days.
Common Recipe Questions
- → How long do the jarred soups keep in the refrigerator?
The layered soup jars can be stored in the refrigerator for up to 4 days. Make sure the jars are sealed tightly and kept at a consistent cold temperature for best results.
- → Can I prepare these jars in advance for meal prep?
Yes, these jars are ideal for meal prep. Layer all dry ingredients and vegetables according to the instructions, seal tightly, and refrigerate. When ready to eat, simply add boiling water and heat. This makes them perfect for grab-and-go lunches throughout the week.
- → What's the best way to reheat the soup after layering?
You have two options: add 2 cups of boiling water directly to the jar, stir well, and let sit for 10-15 minutes until the pasta is tender. Alternatively, pour the contents into a microwave-safe bowl and microwave for 3-4 minutes, stirring halfway through.
- → Can I customize the vegetables and beans?
Absolutely. Swap in any favorite vegetables or beans according to your preferences. Just maintain similar volumes and adjust seasonings as needed. Popular additions include bell peppers, green beans, or different bean varieties.
- → Is this soup suitable for vegan diets?
Yes, the base soup is naturally vegetarian and vegan-friendly. Simply omit the Parmesan cheese topping. All other ingredients, including the bouillon cube, can be verified for vegan compliance by checking packaging.
- → How do I make a gluten-free version?
Replace the regular pasta with gluten-free pasta in the same quantity. Everything else remains the same. Ensure the bouillon cube and sun-dried tomatoes are also certified gluten-free before using.